How to place a signature in a PDF using Adobe Acrobat Reader DC
1. Open the document you want to be signed in Adobe Acrobat Reader DC.
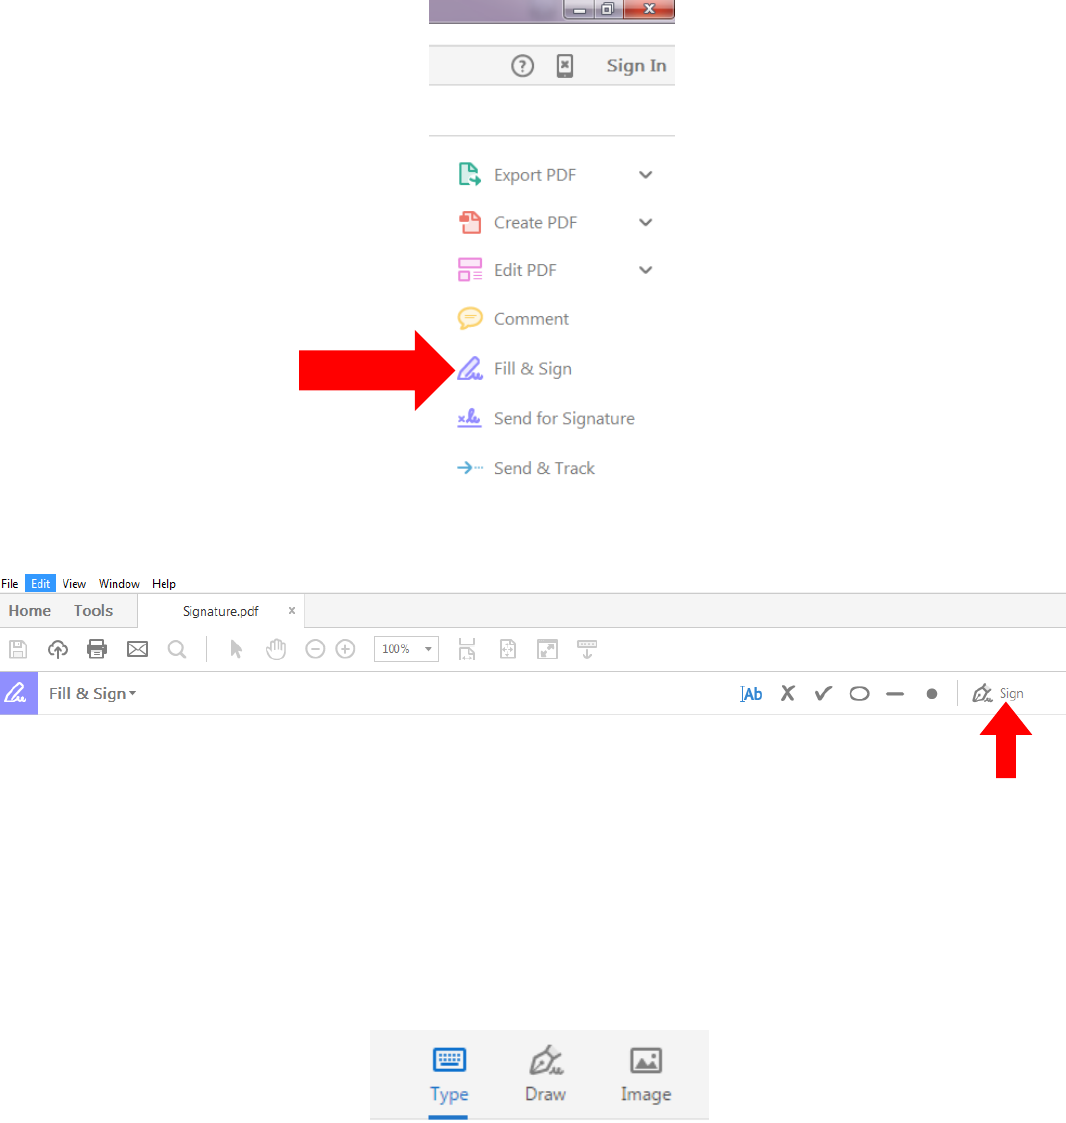
2. From the right-side panel, choose “Fill & Sign.”
3. Next, click the Sign button from the top, middle menu.
4. Choose either Add Signature or Add Initials.
(Note: If you have previously added a signature or initials, they will appear instead of “Add Signature” and/or “Add
Initials.” If this is the case, you can click the appropriate choice and then skip to Step 7)
5. Choose the appropriate input method. Adobe Acrobat Reader DC gives you three options: you
can either type it in one of the pre-selected fonts, draw your signature using the mouse or other
input device, or select an image of your signature that you have scanned into the computer. If
you need help scanning in your signature, please contact IIT.
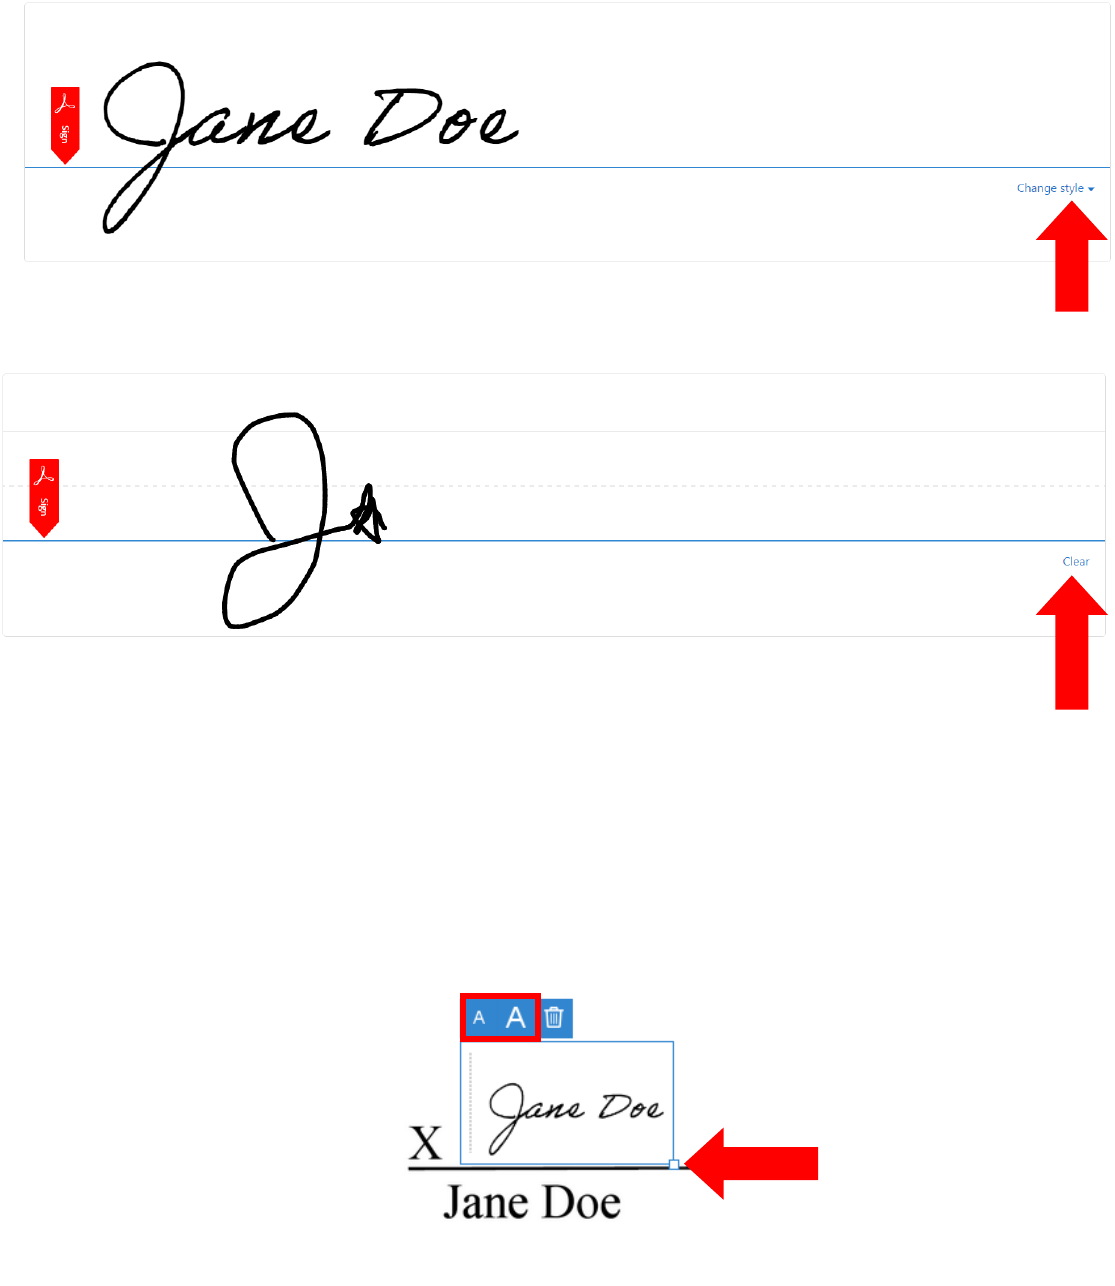
a. Type – Once you have typed the signature, you can change the font by selecting Change
Style on the lower, right-hand side.
b. Draw – If you mess up when drawing your signature, you can select Clear on the lower,
right-hand side to erase everything.
c. Image – After you click Image, a browse window is automatically opened. Locate the file
of your scanned signature and click Open. The image should populate in the signature
box.
6. Click Apply.
7. Your cursor becomes the signature or initials that you just created/selected. Use the mouse to
position the signature where it should go.
8. Left-click once to place the signature.
9. There are two ways to resize your signature. You can either scale it up or down using the two
font scale buttons or by dragging the small box on the lower right corner to the correct size.
